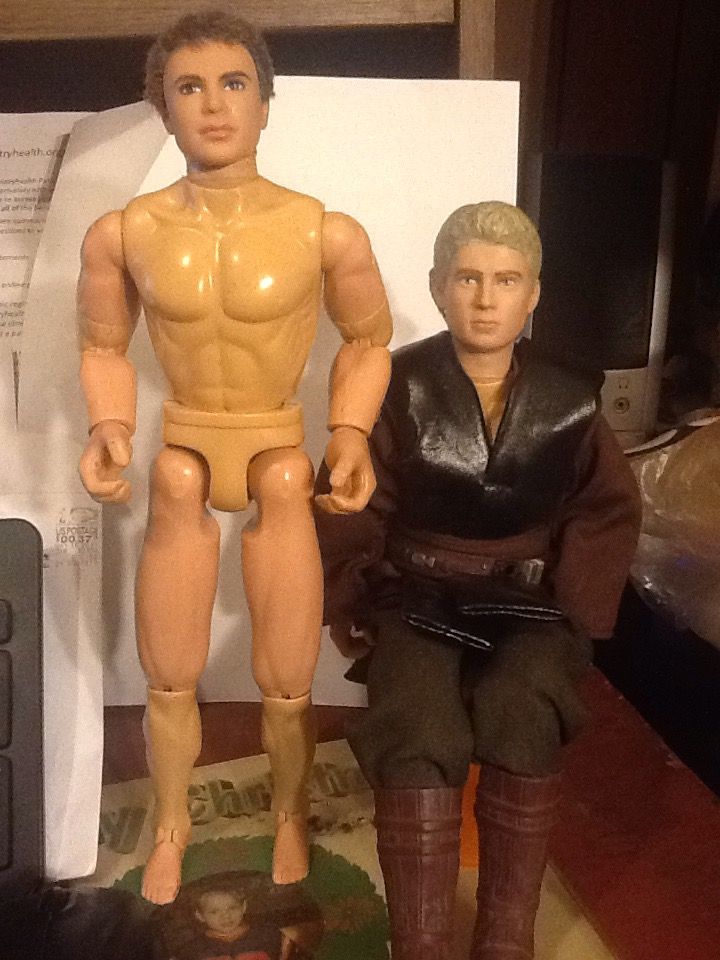
- A Hasbro Attack of the Clones Anakin Skywalker figure,
- A Max Steel head (or Ken head with the same neck style),
- 1-machine screw: 10-32 or 10-24, flathead, Phillips-style, shorter than the inside of head,
- 1-finishing washer, wider than inside the Max/Ken neck hole,
- 1-flat washer &
- 1-nut w/ roughened face.
STEP 1. Remove Anakin's Head
Underneath, you will find a ball joint with a small vertical stick and smaller ball on top of it (not pictured). Cut off the vertical protrusion.
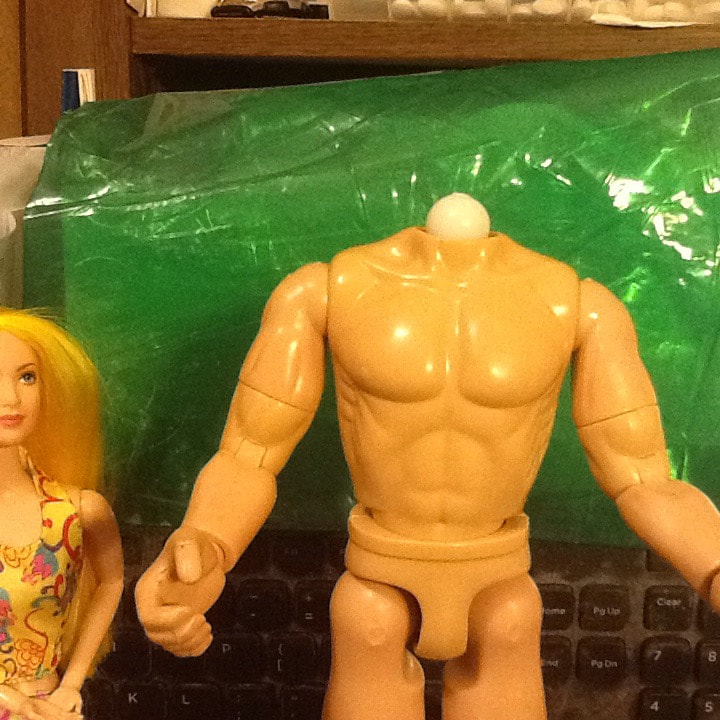
Modified AOTC Anakin neck ball
STEP 2. Harvest Anakin's Neck
- Cut off the top of Anakin's head at the ear/nose level (not pictured). Do not cut him at the jawline!
- Looking down inside the bottom half, cut off all of the sculpt that projects away from the neck cylinder.
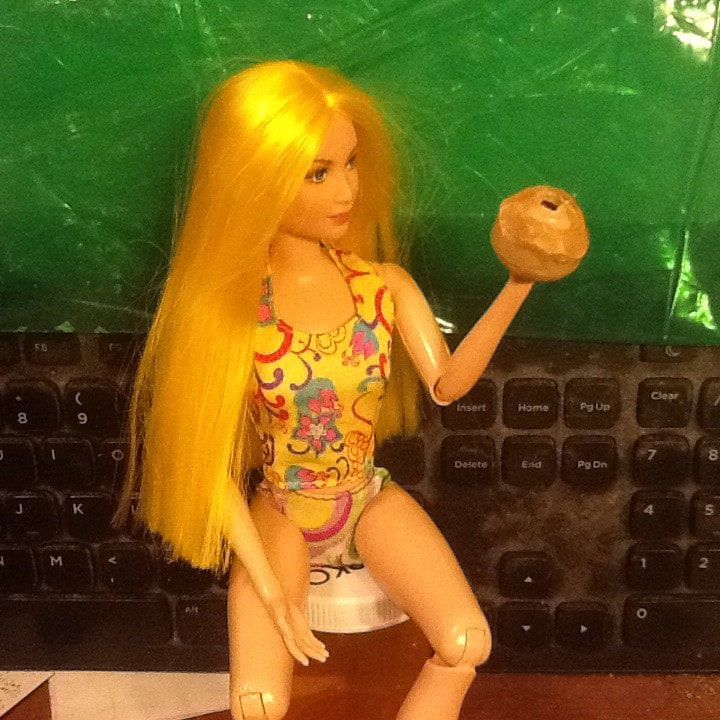
Remaining neck stump
STEP 3. The New Neck Hardware Sequence
Starting from the head of the screw,
- the finishing washer, reverse-oriented (it will catch the inner edge of the neck hole),
- the flat washer, and
- the nut (with roughened face against the washer).
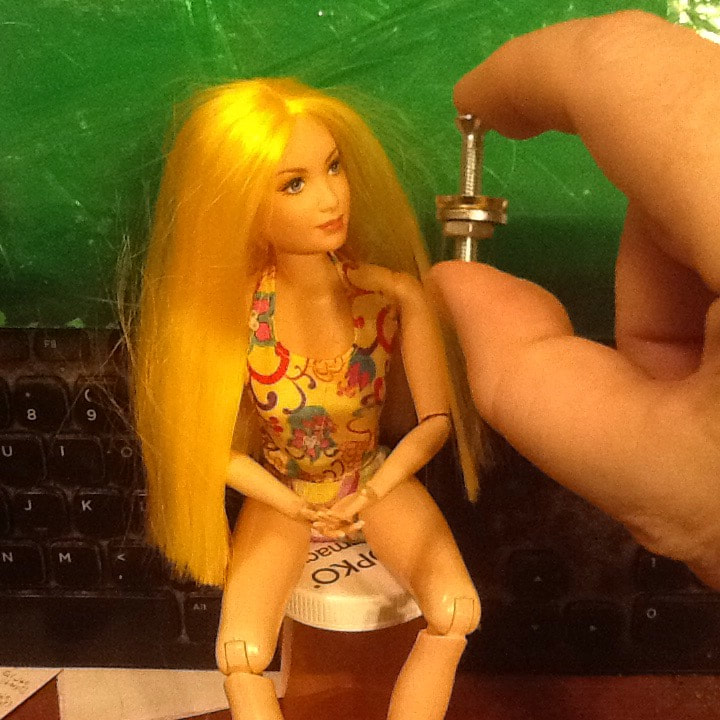
Hardware sequence
STEP 4. Mount the Hardware
With the head of the screw inside the neck, add the hardware in the above order, leaving the nut near its end.
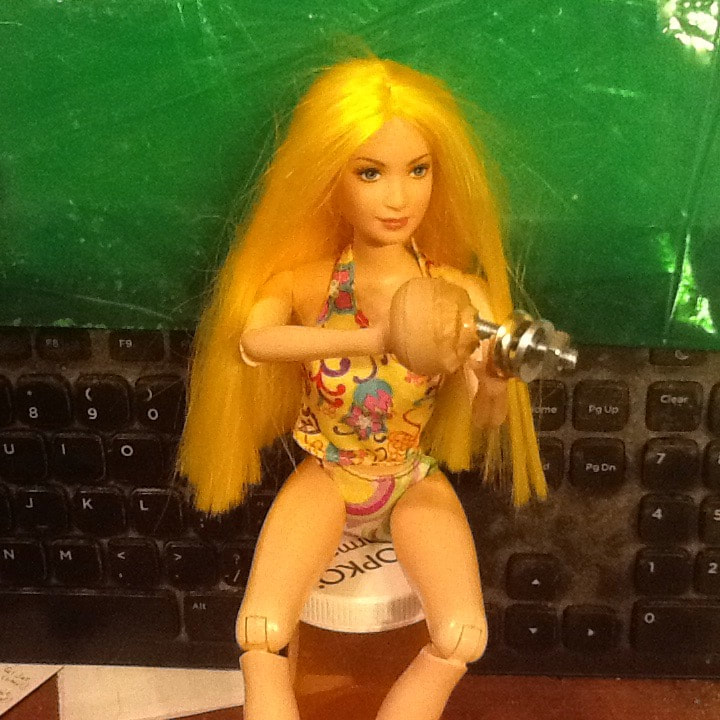
Hardware mounted
STEP 5. Attach Neck to Head
- Stuff the two washers and nut end of the screw into the neck hole of the head (not pictured).
- Tighten the screw (through the neck cavity) to draw nut, head and neck stump together. (You will have to squeeze the head to hold the nut, first, until it is seated.)
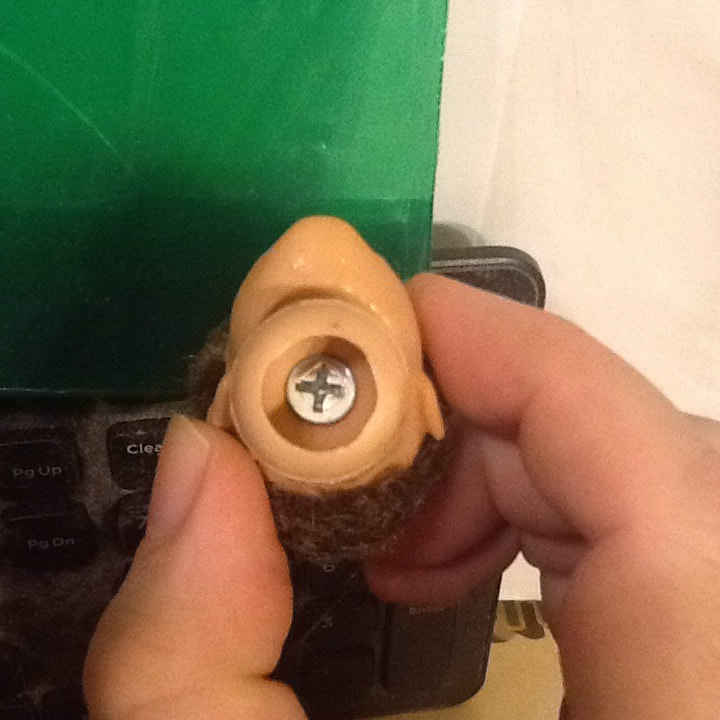
Screw head as viewed through neck cavity
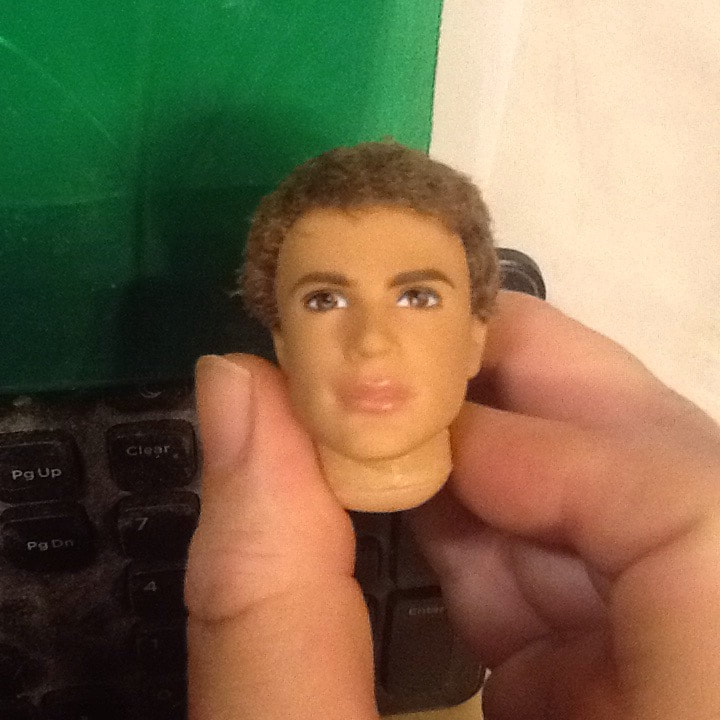
Head/neck assembled
STEP 6. Attach Head/Neck Assembly to Body
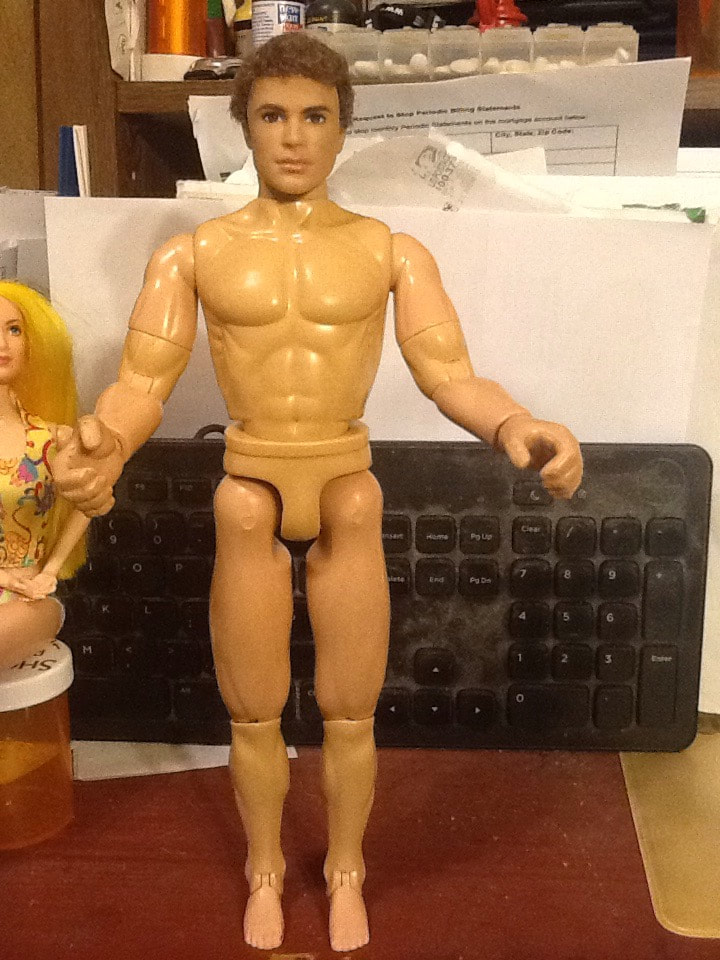
Head re-attached to body
Note: the screw head WILL pull out of the neck stump (being polyvinyl), if you pull the head straight up, but it is pretty stable, otherwise.
His head and neck do not move well together during articulation. I recommend trying an adhesive between them. (The hardware will act as a clamp for curing, besides reinforcing the joint.) I'm trying silicone adhesive, first. [It didn't work.]
No comments:
Post a Comment